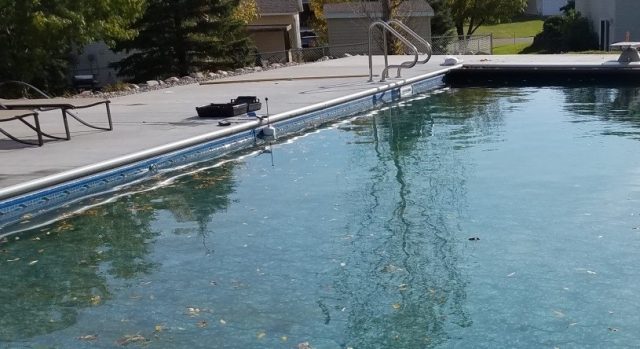
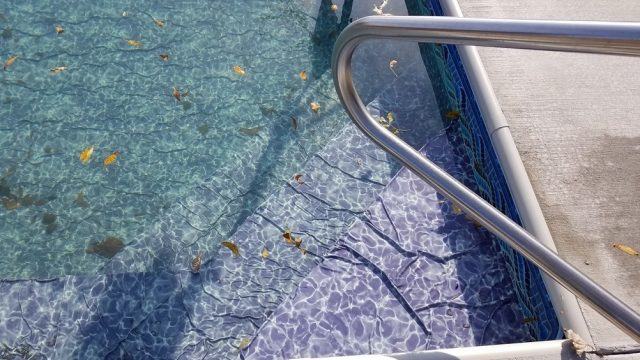
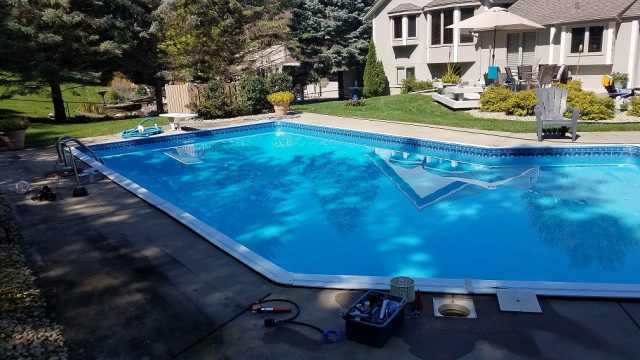
Type of Pool:
Vinyl Liner
Equipment Used:
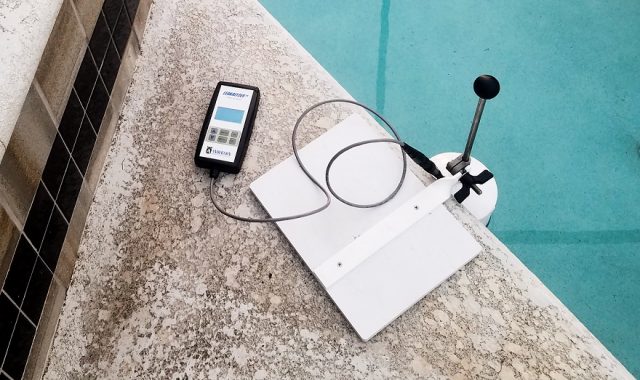
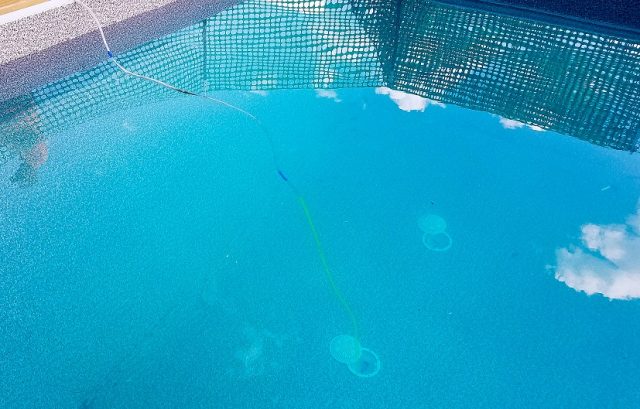
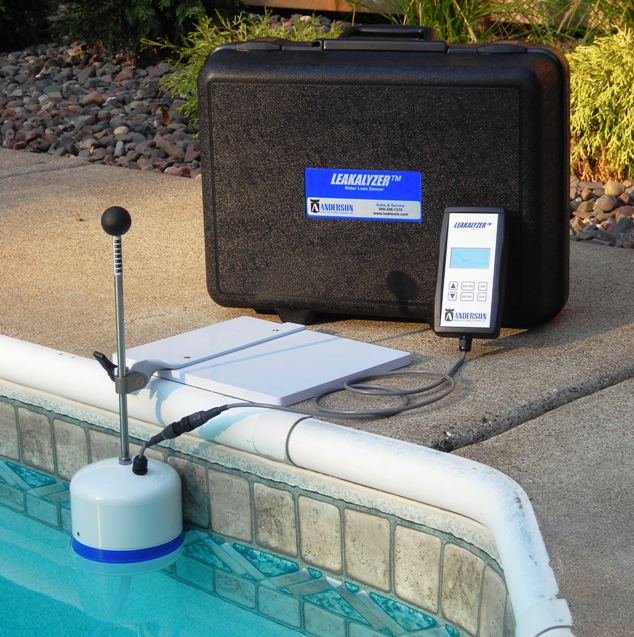
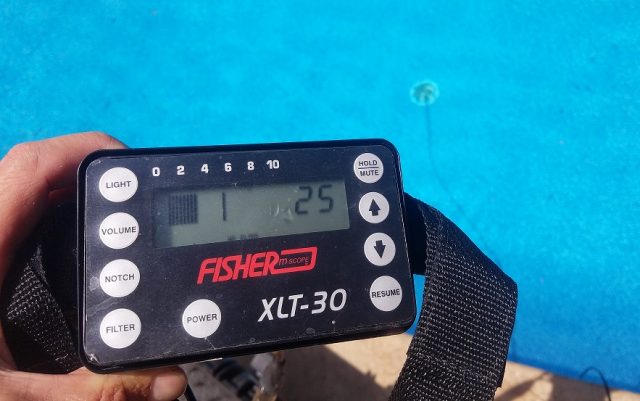
Dye Tester Cones, Pressure Testing Equipment, Electronic Listening Device, Leakalyzer
Situation:
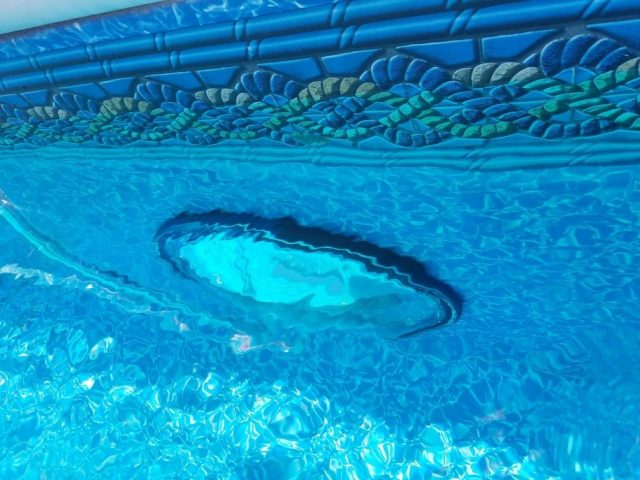
Customer reported that pool was losing water and suspected the skimmer line.
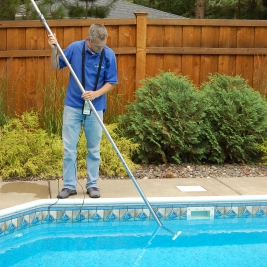
Solution:
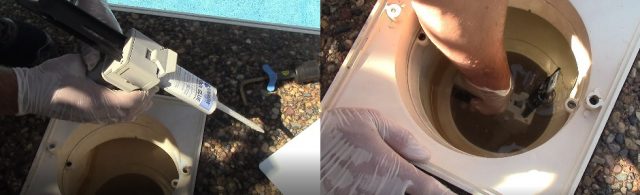
Based on the customer’s suspicion we started out leak job by running a dye test of the skimmer lines right away using the dye testing cones. The deep end skimmer was plugged while the shallow end skimmer was tested and vice versa. Both skimmers pulled dye. Since each skimmer had its own run from the pump, and since we had isolated each line by closing valves we thought that both lines had a leak.
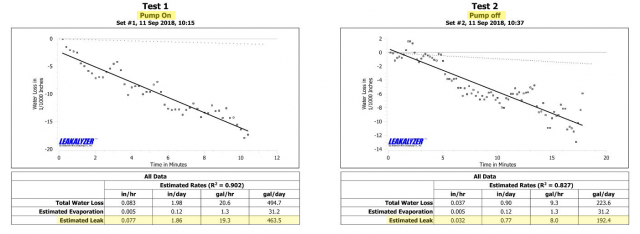
In order to start pinpointing those leaks, we first pressurized the line with air from the deep end skimmer back to a closed valve at the equipment. We could immediately hear the bubbling noise of air escaping into water saturated soil right below the skimmer bowl.
Then, we checked the shallow end skimmer line by switching to inducing pressure from that skimmer bowl. There was no noise and a much slower pressure drop. After listening for a while but still not finding a noise and not seeing a significant pressure drop, we switched to inducing pressure from the valves to isolate each line individually. Using this approach the shallow end skimmer line held pressure and the deep end line made noise in the same spot we had heard before.
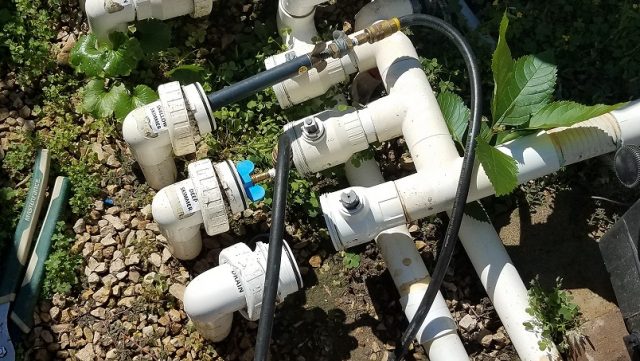
It turns out that the shallow end skimmer line was not leaking, but it had drawn dye through the pipes to the other skimmer break due valves that didn’t seal off properly. Pressure testing helped us determine that there was just the one leak, not two.
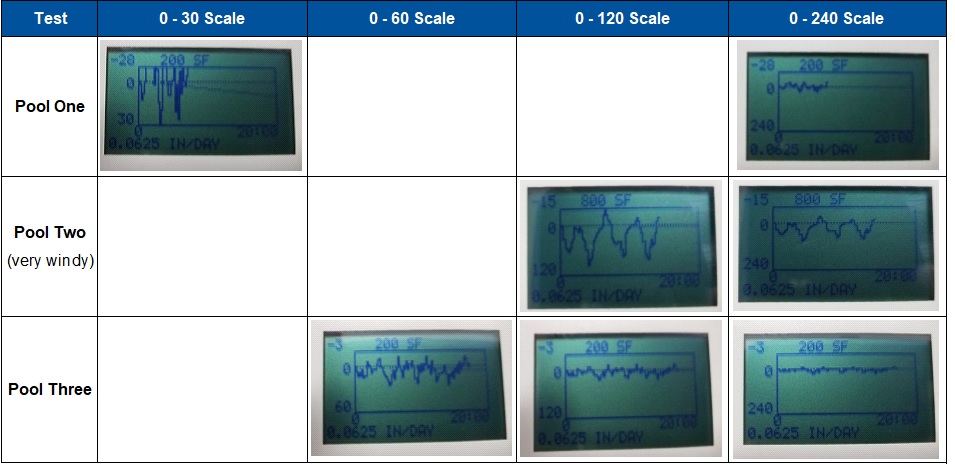
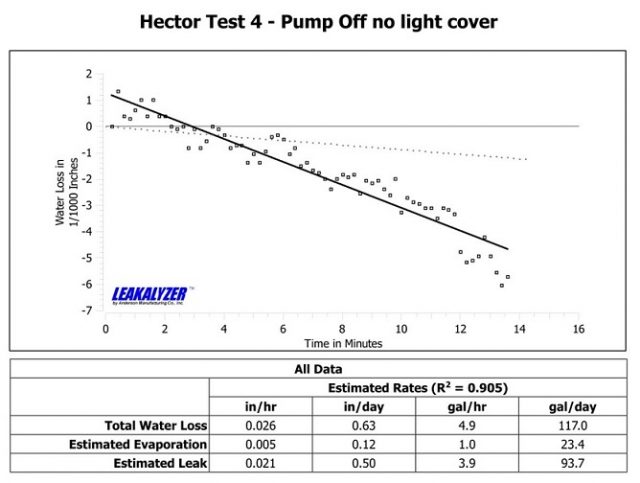
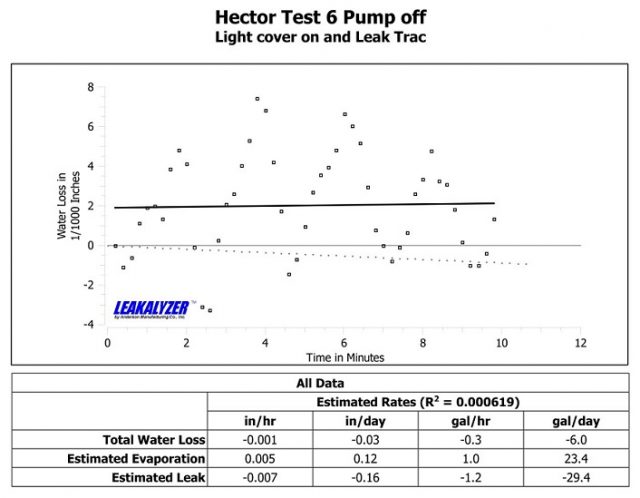
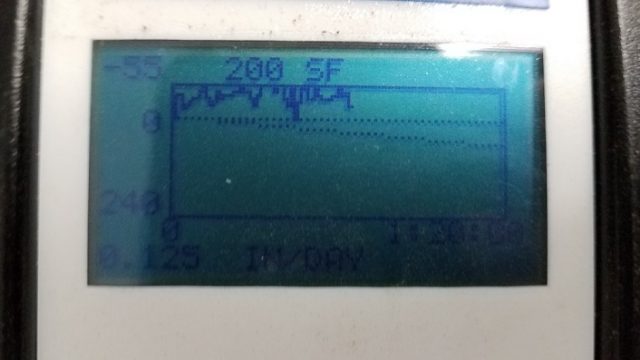
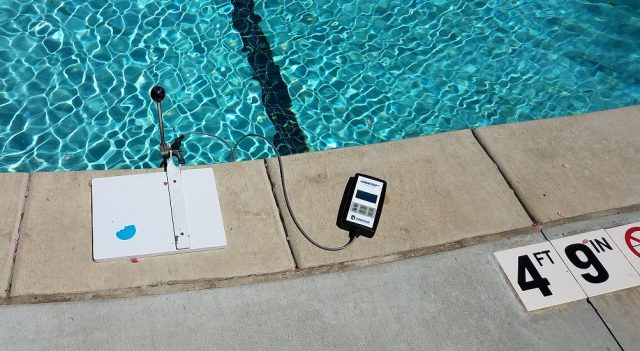
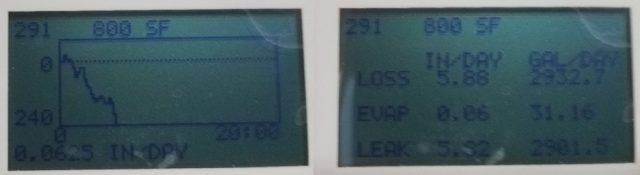
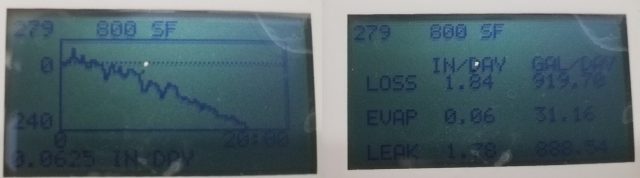
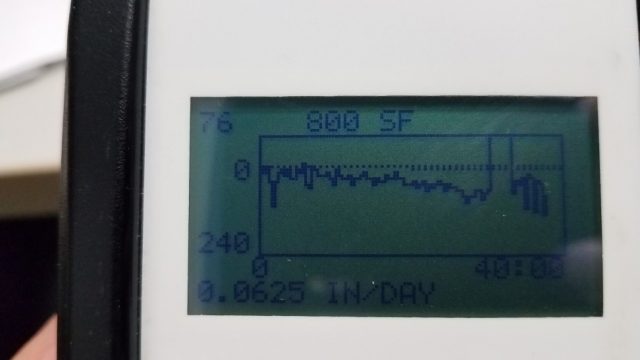
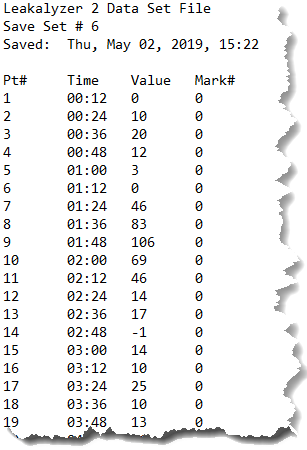
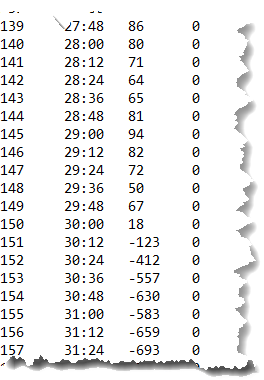
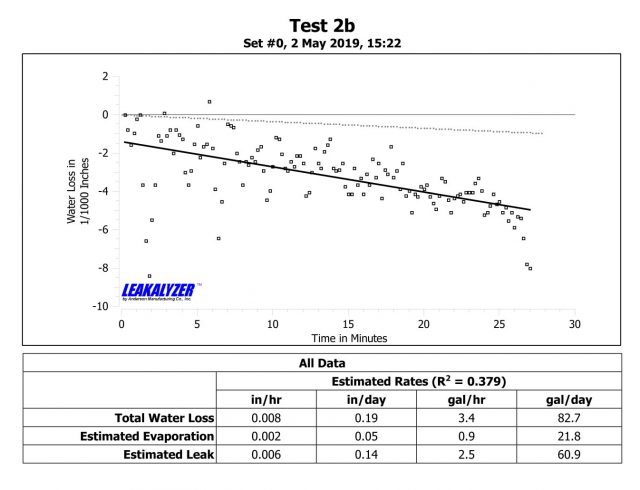
We also ran a Leakalyzer test on the shell of the pool while the lines were plugged. The results confirmed that the pool shell wasn’t losing water. We left the job having given the customer a clear leak location and the assurance that their pool would no longer be leaking once the plumbing repair was made.
Highlights:
- Leaks can siphon through bad valves, which produces unclear results when dye testing. It’s important to understand how your tests may give deceptive information and perform secondary tests if you are left with any uncertainty. Pressure testing was able to verify the line was good despite drawing dye.
- Opening the pump lid would have been an effective method of isolating the skimmers by creating an air break. Since the dye test was done early in our Initial Assessment we hadn’t yet opened the pump.