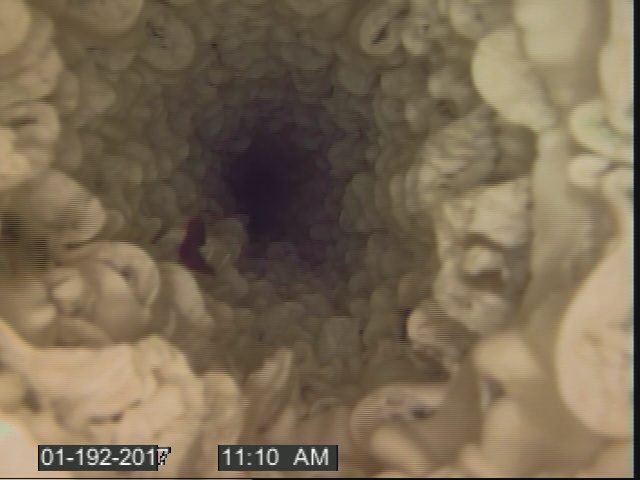
Underground pipe leaks are often considered the most difficult swimming pool leaks to find, especially because it’s so important to be confident in the location of the leak before beginning costly repairs. Recognizing the benefits and limitations of different pipe leak location methods can help you choose the right method for the situation.
The allure of being able to actually see underground pipe leaks and locate them precisely makes the use of pipe inspection cameras with sondes an appealing option. While other methods may generally be faster or have a higher success rate, when used in the right situations pipe inspection cameras can play a critical role in swimming pool leak detection.
When To Use:
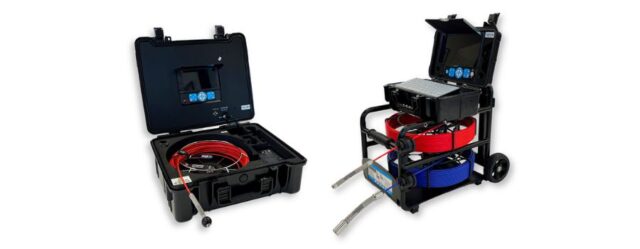
Generally, pipe inspection cameras are used as a backup method when sonic leak location does not work or as a way to confirm the location of a leak found with an alternate method. Cameras tend to be more advantageous when there are large leaks, suction side leaks, or flex pipe with few elbows or T fittings. The one situation where we would recommend using an inspection camera before attempting sonic leak location is if there are air bubbles coming into the pump from a specific suction line.
Additionally, the locator that is used to identify the camera head location via sonde transmitter can be used to trace where plumbing lines run. This feature can be beneficial when used together with sonic leak location to narrow your search area.
Process:
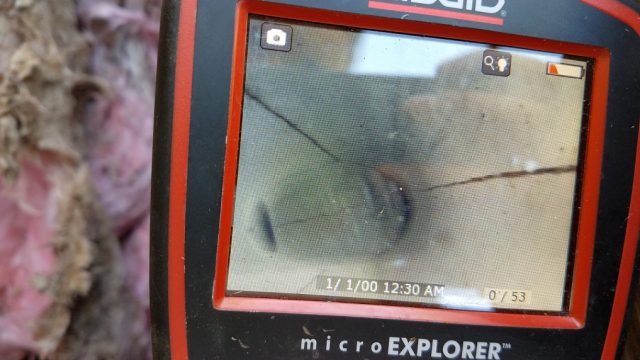
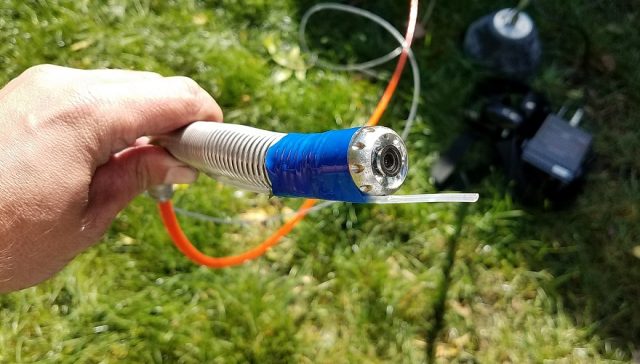
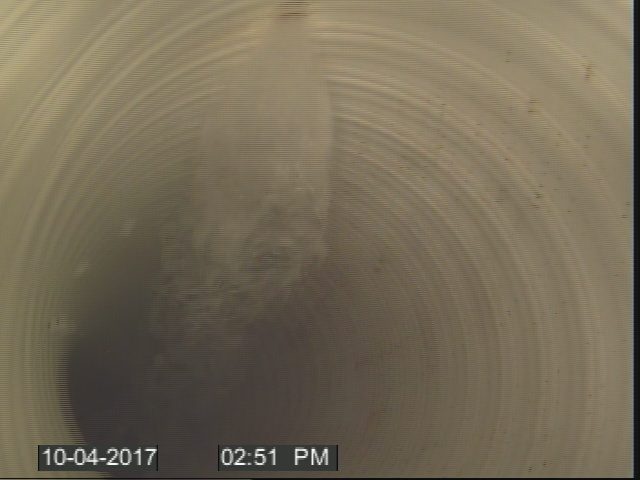
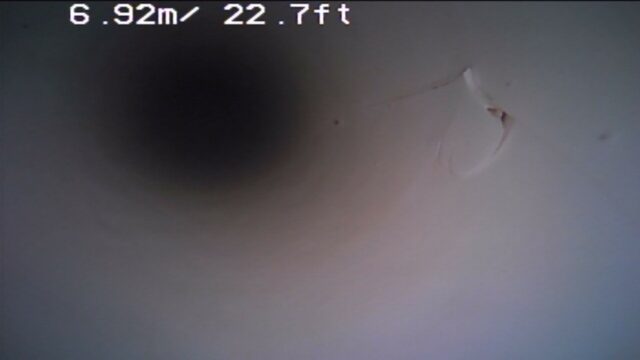
The process for using a pipe inspection camera is simple – feed the camera through the line to visually inspect the inside of the pipe. Typically, pipe inspection cameras will feature a small camera on the end of a flexible rod that can be pushed through the plumbing line. The camera will record a live visual of the inside of the pipe that can be viewed on a screen from the deck. Once a leak is identified, a transmitter on the camera head can be located from above ground with a locator to identify the precise location of the camera head and leak.
While feeding the camera through the pipe, watch for:
- Cracks
- Punctures
- Blockages or crushed pipe
- Air being pulled into the pipe while under suction
- Movement of leak locating dye
Challenges:
It may not be possible to get the camera to the leak location.
Navigating the many 90-degree elbows and T-fittings in swimming pool plumbing poses a challenge. Fortunately, many of the new smaller inspection cameras can get past several 90-degree elbows with an aggressive push. This is especially the case with elbows close to the camera entry point, but the further down the plumbing line the camera gets, the less likely it is that the camera head will slide past an elbow. One way to help maneuver through bends is to tie a string to the end of the camera and gently tug on it to keep the camera head from getting stuck while pushing past elbows or T’s.
While camera designs and strings can help get a camera further down the line, there are still real limitations to getting a camera to certain points in pool plumbing. Long runs of plumbing, multiple jets on one line, and spa jets can prove difficult or impossible with the inspection camera method.
Swimming pool plumbing is hard on inspection cameras.
Pushing cameras through narrow pool plumbing can be hard on them, but durability has improved over the years and many cameras do a better job of taking the abuse of pool plumbing than they used to. It’s important to be mindful that the connection between the camera head and cable is especially vulnerable to damage when pulling the camera back through plumbing. Additionally, while getting a camera head stuck in the line isn’t common, it can happen.
The leak may not be visible even if the camera can reach it.
Pipe inspection cameras work best in large water loss situations where severed pipe or large cracks are clearly visible. However, sometimes smaller pipe leaks are impossible to see. For instance, a poorly glued fitting looks fine from the inside. Or, a crack on the inside of an elbow often isn’t visible due to the camera head position and angle. It is not uncommon to go right past the leak and not notice. In this case, administering leak locating dye in front of the camera near suspect areas in a option to test for or verify a leak location. This is done by attaching dye tester extension tubing to the camera head and feeding it into the pipe along with the camera. While this can help, it’s best to dye test within about 1/4″ of a suspected leak and dye often can’t be placed that precisely when it is injected this way.
The clearest visual you can get of a leak is when air bubbles get drawn into suction side plumbing through the leak when the pump is running. When this is the case, inspection cameras can be inserted through a skimmer or main drain to identify where the air is coming into the line.
Using pipe inspection cameras is time intensive.
While the pipe inspection camera method has some great benefits, time savings is not one of them. As with any method, you could get lucky and find the leak right away, but could also spend significant time watching the screen while wiggling the camera inch by inch through long plumbing runs. Plus, there are a surprising number of things in pool plumbing that look like leaks but may not actually be causing water loss. So even if you find what you think is a leak, you often have to use a secondary method to verify that it is indeed a source of water loss.
Key Equipment Features:
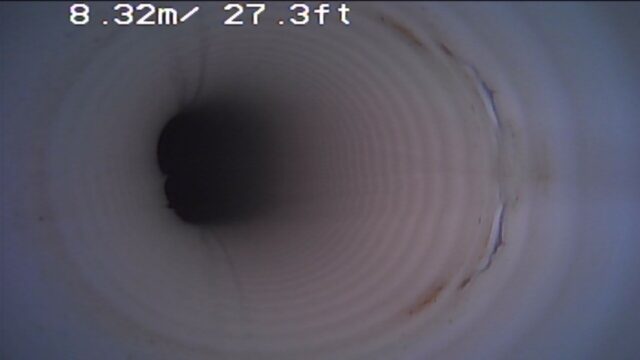
With many options on the market, there are a few characteristics to consider when purchasing a pipe inspection camera for swimming pools.
- Clear and Well-lit Screen – Since most swimming pools are outside, a bright screen is important. Adjustable light settings on the camera head are also helpful.
- Sonde Transmitter – Make sure the camera head is equipped with a transmitter than can be picked up with a locator.
- Push Rod Length – Since most leaks are generally close to the pool or close to the equipment, you might be able to get by with a shorter camera rod length of 65′, but in order to inspect as much plumbing as possible, a 100′ length is desirable. You can enter from both ends of the pipe if needed.
- Camera Head Size – Due to the prevalence of 1.5″ plumbing in swimming pools, you will want a smaller camera head that fits in that size pipe.
- Push Rod Strength – The push rod should be more flexible for smaller piping (0.75 – 2″ piping) and stiffer for larger piping (2.5″ and up). Flexibility is often signified by cable diameter.
- Durability and Reparability – Pool plumbing is hard on cameras – quality matters and so does the ability to repair the camera if you have issues.
Bottom Line:
While pipe inspection cameras are not needed to locate most underground pipe leaks, they can provide great value to the swimming pool leak detection process. The ability to locate the precise location of a leak through the use of a sonde and locator is unique, and providing pictures and videos of the leak can increase your professionalism. Plus, these images are great additions to a report. While inspection cameras may not be the go-to method in many situations, their inclusion in your toolbox is justified.

