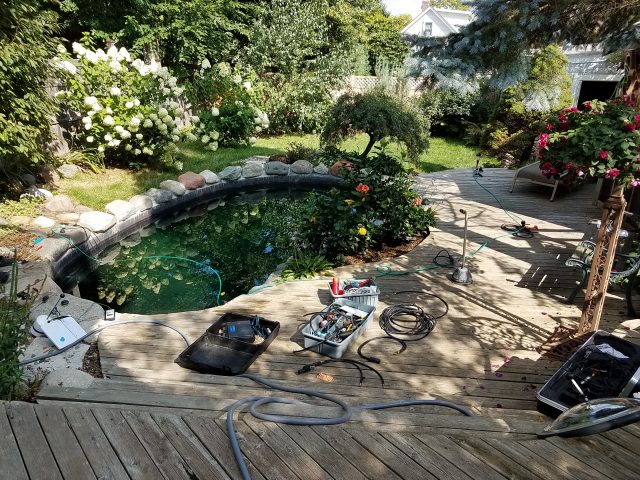
Type of Pool:
Gunite Spa/Pool
Equipment Used:
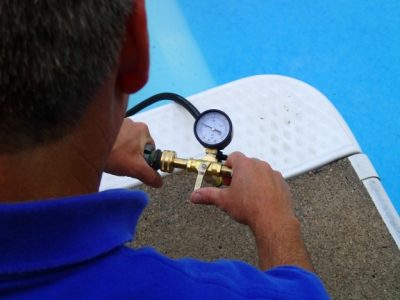
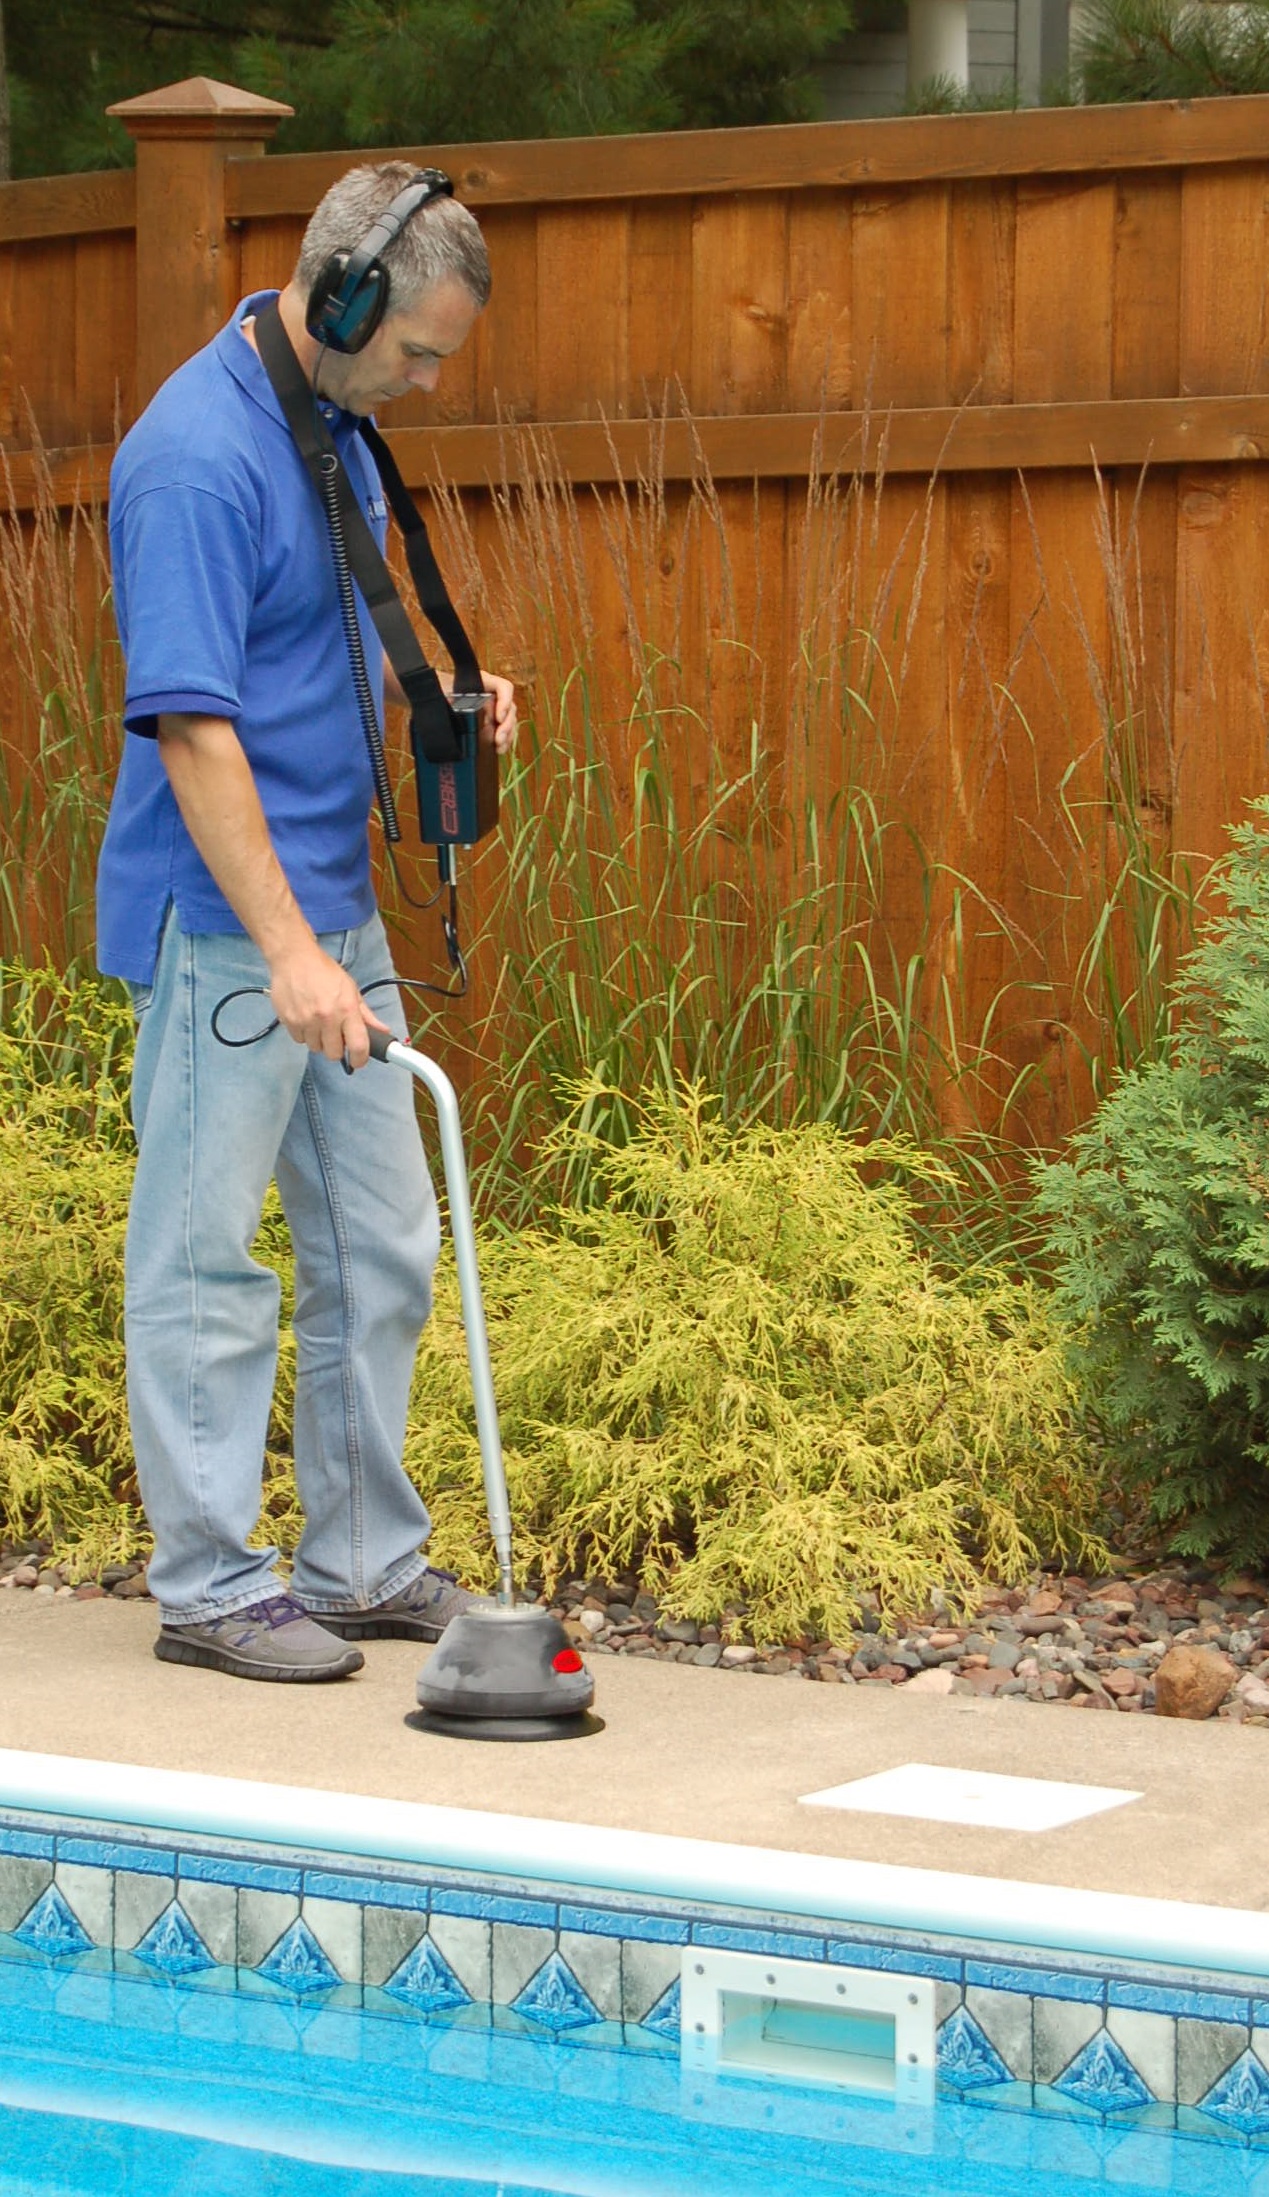
Leakalyzer, XLT30H, Hydrophone ,Dye, Ridgid Inspection Scope, Ridgid Micro Drain Reel, Pressure Testing Equipment, Dye Testing Cones
Situation:
The customer called because their pool would leak down to the tile line and stop, so they wanted us to locate the leak and asses the tile line to determine if a full renovation was needed. When we got to the pool the water level was filled to the normal level as we requested, but the customer pointed out where it would typically leak down to which was an inch below the skimmer, but a couple inches above the jets. It seemed as though we were in for a quick tile line crack location and putty repair.
Solution:
We ran a Leakalyzer test to get a better understanding of how fast the pool was losing water and while doing so started listening with a hydrophone to the suspected tile line. A quick trip around the pool with the hydrophone didn’t uncover any suspect areas. We moved on to dye testing because sometimes small leaks don’t make enough noise for the hydrophone. After dye testing the whole tile line we were able to confirm that there were no leaks in the shell of the pool at the level where the water drained down to. It turns out this job was going to be a little more complicated than we thought!
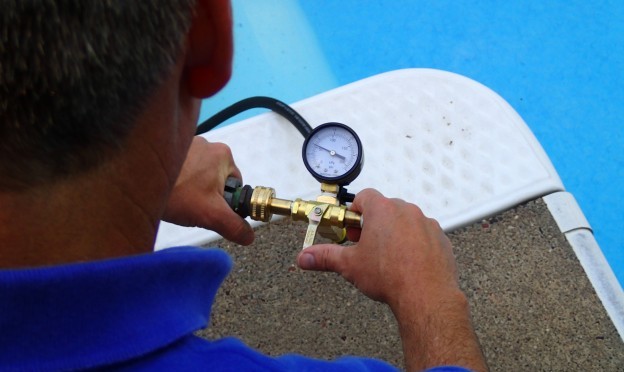
We checked our ongoing Leakalyzer test which was showing a current rate of over 20” per day of water loss (small pool, big leak). To do a quick check of the plumbing lines we used the Dye Tester Cones and learned that the jet returns drew dye like crazy. Because the water level stopped higher than the jets we began to suspect the blower line instead of the jet return line. A pressure test confirmed the suspected line was leaking as we couldn’t even build any pressure. A Leakalyzer test with the jet returns plugged confirmed the rest of the pool was not losing water, so we knew we could be done with any further testing in the shell of the pool.
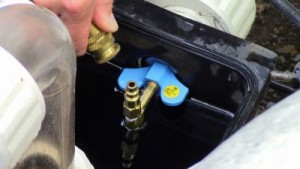
Since the equipment pad was positioned lower than the pool, in order to induce air from the high side of the plumbing we had to use one of the jet returns. When we started listening with the XLT30H there was a loud noise right above where we were inducing pressure that actually seemed to echo throughout the pool. There were two places that seemed louder and more distinct than the other areas though: the jet fitting and a place where the pipes presumably ran underneath the pool. We deduced that even though we were inducing from the high side of the plumbing, since the leak was in the blower line the air had to travel through remaining water in the jet line, creating some of and perhaps all the noise we were hearing. To confirm this suspicion, we switched and induced pressure from the other side of the plumbing. After this switch the sound in those two locations went silent. This confirmed we were hearing the sound of air traveling through remaining water in the pipe and not air escaping out of the leak into water saturated soil.
The lack of noise around the pool forced us to look closer to the equipment which would mean that the leak had to be well below where the water level stopped. It turned out there was a Hartford Loop for the blower line, but it wasn’t high enough and thus didn’t stop water from draining back through until the water level reached the familiar point on the tile. We suspect someone made a modification to the blower plumbing at some point for aesthetic reasons and buried the loop without understanding its purpose.
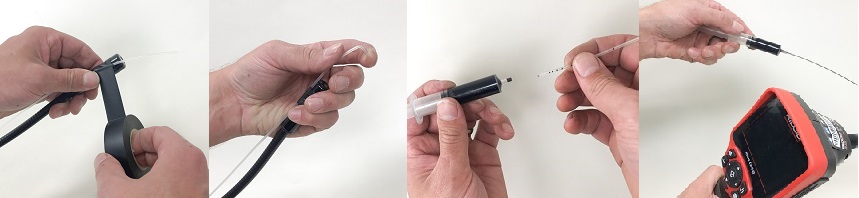
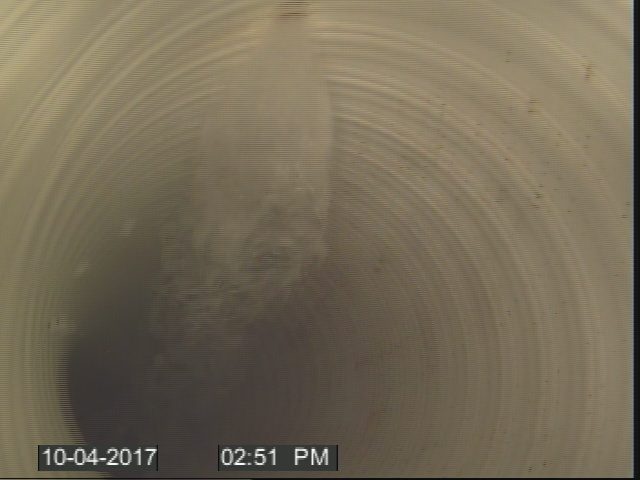
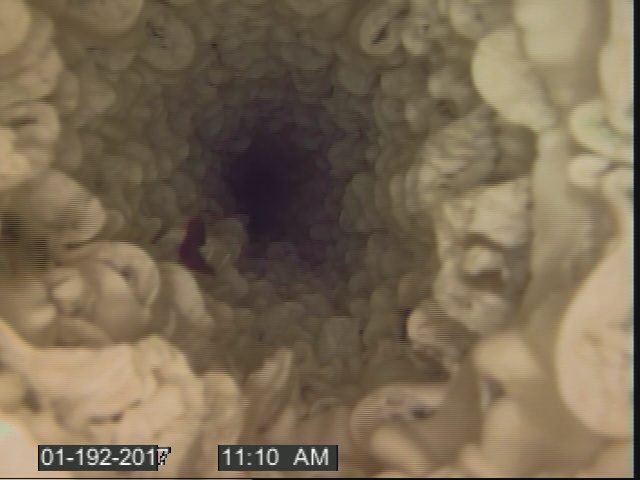
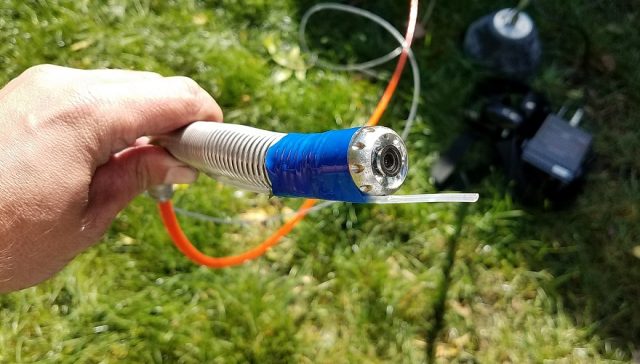
Building enough pressure for a quick sonic location was difficult and since we had easy access to the flexpipe we used a Ridgid Micro Drain Scope and a line locator to pinpoint the exact location. About 15 feet in we saw what appeared to be a cracked pipe due to freeze damage.
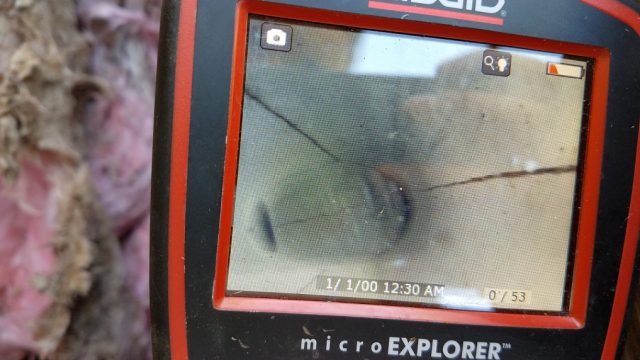
To verify the crack we saw was our leak, water was induced into the blower line from the high side of the plumbing and we pulled that camera back towards the low side of the plumbing watching for the water flow to stop. Sure enough the water was flowing into this crack. The crack was dye tested with extension tubing from Anderson Manufacturing affixed to the end of the camera. The dye was drawn into the crack a well. The crack was about 8’ long and on both sides of the pipe – so no wonder we couldn’t build pressure!
Learnings:
- Just because water stops at the tile line doesn’t mean it’s the tile line that’s leaking!
- Inducing pressure from both ends of plumbing can be a way to verify if you’re hearing a leak noise vs air traveling through water in pipe. If noise is only audible when you induce from one end it may be standing water in the pipe not air escaping into water saturated soil.
- Dye Tester Extension Tubing can be taped to inspection cameras for leak verification or location.
- Persistence paid off, but this one was a bit misleading and ended up being time consuming. Some leaks are more tricky than others!